Welcome to your trusted source for all things HVAC in the St. Louis metropolitan area. With over four decades of dedicated service since 1979, Indoor Comfort Team has stood as the beacon of reliability and expertise for homeowners and businesses alike on both sides of the river.
Your furnace filter plays a crucial role in maintaining indoor air quality and ensuring the efficiency of your heating system. Yet, it’s often an overlooked aspect of home maintenance. In this step-by-step guide, we’ll walk you through the simple process of changing your furnace filter, helping you breathe easier and keep your HVAC system running smoothly.
At Indoor Comfort Team, we believe in empowering homeowners with the knowledge and tools to maintain their HVAC systems effectively. By following these straightforward instructions, you’ll not only improve the air quality in your home but also extend the lifespan of your furnace. Let’s dive into the essential steps for changing your furnace filter and ensuring your indoor comfort.

Why Change Your Furnace Filter?
Think of your furnace filter as the lungs of your home. With each breath your HVAC system takes, the filter traps dust, pollen, pet dander, mold spores, and countless other microscopic particles. This filtration is crucial for maintaining healthy indoor air quality (IAQ). Studies consistently link poor IAQ to a range of health concerns, especially for those with asthma, allergies, or respiratory sensitivities.
Beyond health impacts, a clean filter keeps your furnace running at peak efficiency. A dirty, clogged filter creates resistance to airflow, forcing the blower motor to work harder and consume more energy. According to the Department of Energy, a dirty filter can increase energy costs by up to 15%. Regular filter changes translate to real dollar savings on your energy bills.
Perhaps most importantly, filter changes help prevent costly breakdowns. When airflow is restricted, your furnace’s critical components overheat and experience excessive wear and tear. This can lead to expensive repairs or even the premature need to replace the entire furnace. Think of a filter change as a small investment that protects your much larger investment in your HVAC system.
For easy, affordable maintenance, sign up for Indoor Comfort Team’s VIP Club Plan, and rest easy that your unit is taken care of. Our maintenance plan includes bi-annual maintenance of your unit along with a load of other benefits. Visit https://www.indoorcomfortteam.com/services/maintenance-agreements/ or call us anytime (314)230-9542 to learn more or sign up.

How Often to Change Your Filter
The general rule of thumb is to change your furnace filter every 1-3 months. However, this is just a baseline, and several factors can make more frequent changes necessary. Here’s how to know when it’s time:
Pets: Pet hair and dander can clog filters quickly. If you have furry companions, aim to change your filter monthly.
Smokers: Indoor smoking dramatically reduces air quality. Protect your filter and your lungs by replacing it monthly if anyone in the household smokes.
Allergies/Sensitivities: If seasonal allergies or dust sensitivity are a concern, opt for higher MERV-rated filters and consider changing them every 4-6 weeks, especially during peak allergy seasons.
Construction/Renovations: Home improvement projects generate significant dust. Change your filter more often until construction is complete.
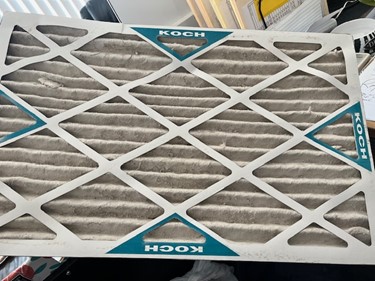
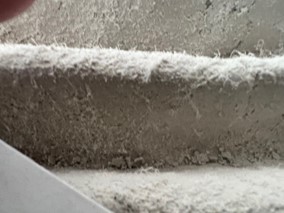
Visual Inspection: The best indicator is simply looking at your filter. Holding it up to the light, if you can’t see through it easily, it’s time for a replacement, regardless of the timeline. Even if your filter looks clean, it’s vital to adhere to the recommended change intervals to capture microscopic particles and maintain optimal furnace performance.
If you ever have questions about how often to change your furnace filter, give one of our professionals a call anytime at (314)230-9542.
Step-by-Step Guide to Changing Your Furnace Filter
Don’t be intimidated by furnace maintenance. Changing your filter might sound technical, but it’s incredibly straightforward. Let’s break it down into simple steps.
Step 1: Turn off the furnace.
Before interacting with your furnace, locate the power switch near the unit and flip it to the “OFF” position. This switch usually resembles a standard light switch. If you don’t find a dedicated switch, access your home’s electrical panel (breaker box) and turn off the breaker labeled for the furnace.
If uncertainty persists about which breaker is correct, you can temporarily turn off the main power switch as a safety precaution. Cutting power to the furnace is vital to prevent accidental startup while you’re changing the filter.
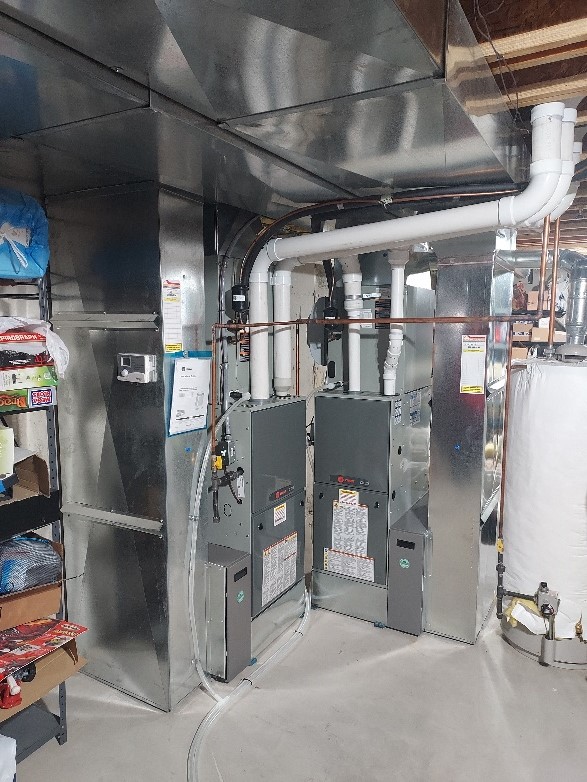
Step 2: Find the filter.
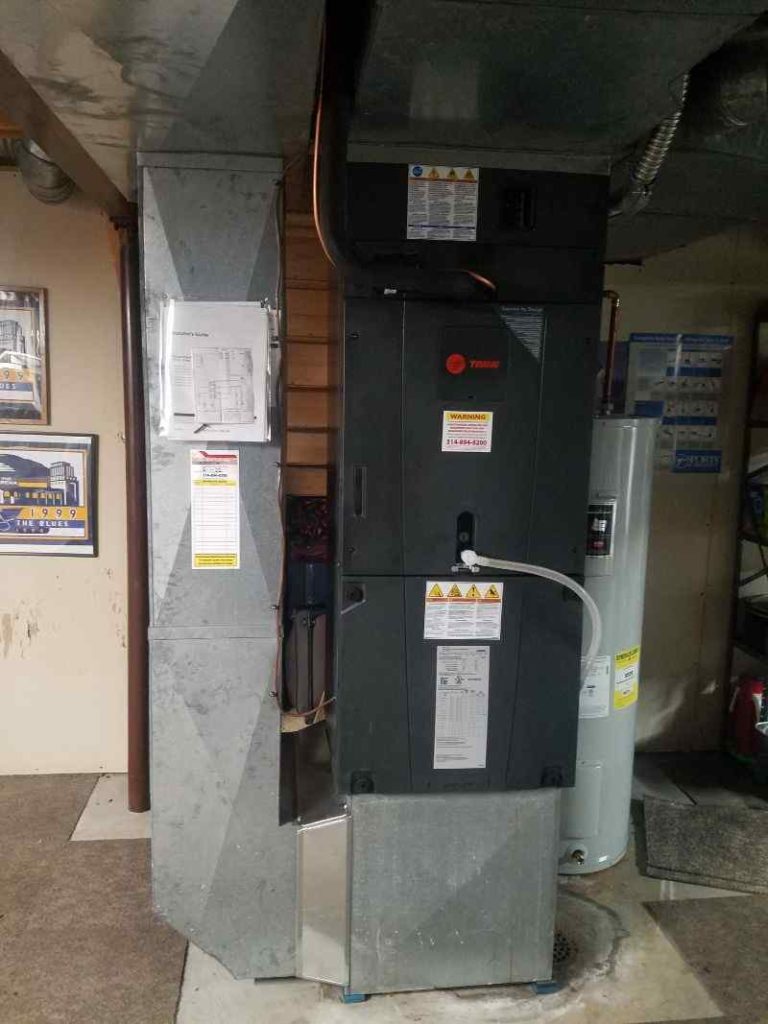
Furnace filters can be located in a few different places. The most common locations are within the return air duct (check for a large grille on the wall or ceiling), directly inside the blower compartment of the furnace, or behind a removable panel. If you are unsure of your filter’s location, consult your furnace’s owner’s manual. It will provide specific diagrams and instructions for your model.
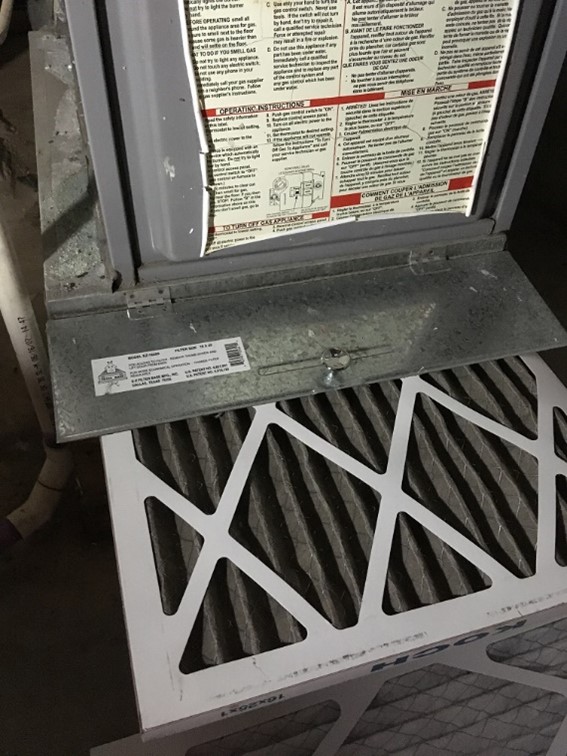
Step 3: Remove the old filter.
Before removing the old filter, pay close attention to how it’s installed. You’ll likely see arrows printed on the frame of the filter. These arrows indicate the direction of airflow through the furnace. It’s crucial to note this direction so you install the new filter correctly. Carefully slide out the old filter, keeping track of the way it was oriented. Some filter housings may have additional clips or fasteners, so be sure to release those before removing the filter entirely.
Step 4: Insert the new filter.
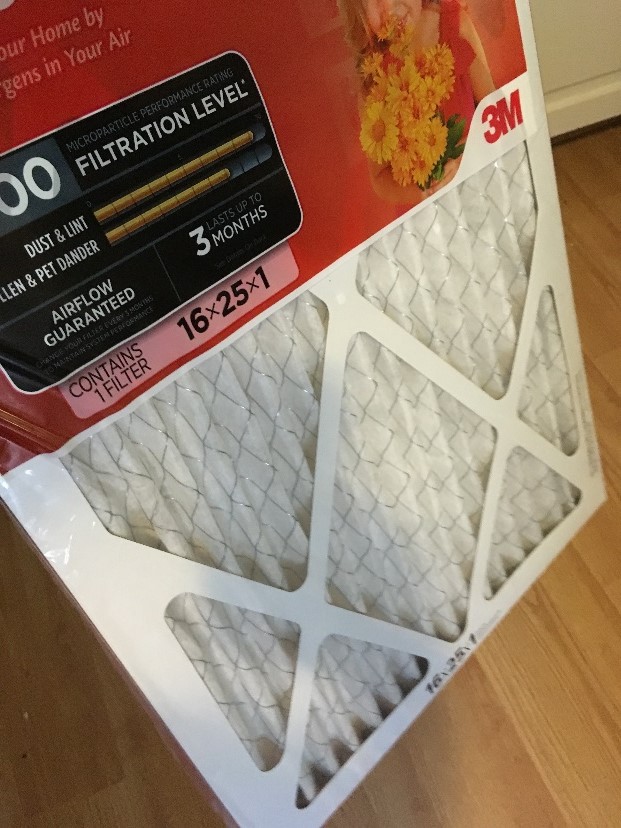
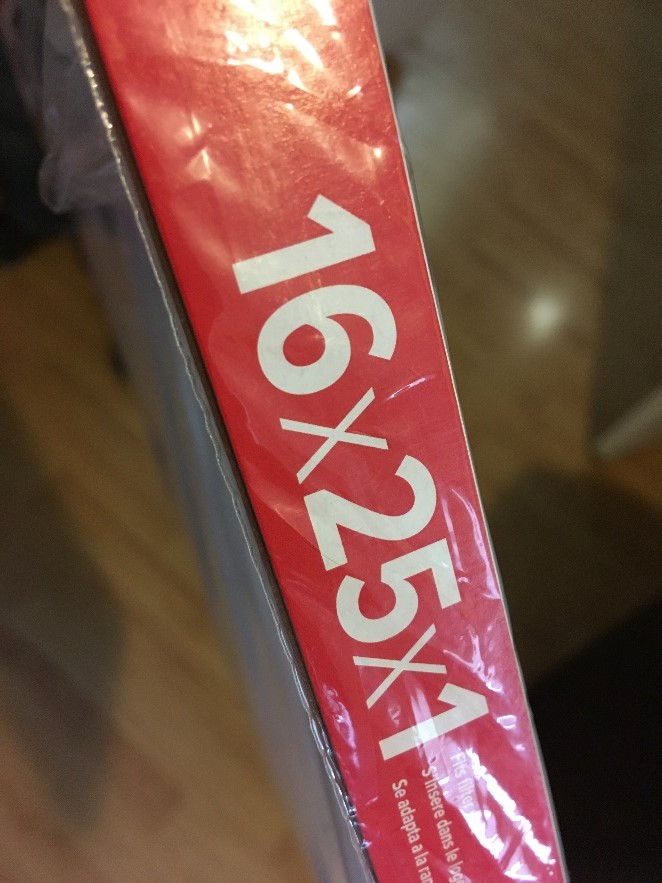
Unpack your new replacement filter, ensuring it’s the correct size and MERV rating for your furnace. Locate the airflow arrows printed on the frame of the new filter. These arrows must align with the airflow direction you noted when removing the old filter. Slide the new filter into place, making sure it fits snugly within the filter housing.
Step 5: Secure the filter housing.
Once the new filter is firmly in place, ensure that the filter housing is properly closed and secured. If your filter is located behind a panel or door, make sure it closes completely and that any latches or fasteners are engaged. In the case of filters within return air grilles, double-check that the grille is seated correctly with no gaps where air could bypass the filter. A secure fit prevents unfiltered air from entering your system.
Step 6: Turn the furnace back on.
Restore power to the furnace by flipping the power switch back to “ON” or resetting the circuit breaker. Listen to your furnace as it starts up. It should sound normal and consistent with its usual operation. Take a moment to verify that air is properly flowing from your vents.
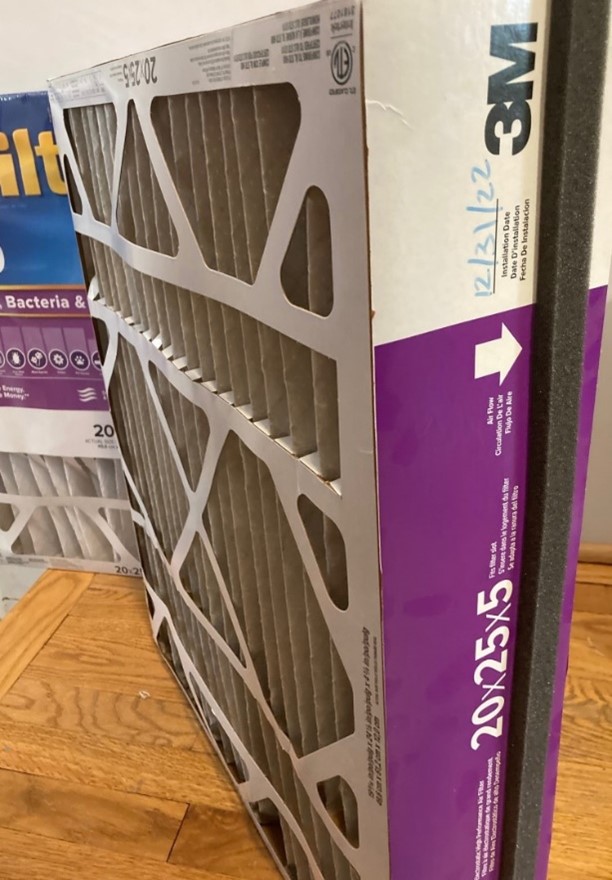
Step 7: Mark the installation date.
Use a pen or marker to write the current date directly on the frame of the new filter. This simple step makes it incredibly easy to track when your next filter change is due, ensuring you don’t accidentally neglect this important task.

Troubleshooting
While changing a furnace filter is usually straightforward, occasionally, you might run into a few snags. Here’s how to handle common issues:
- Difficulty finding the filter: Every furnace model is slightly different. If you’re struggling to locate your filter, start by consulting the owner’s manual for your specific furnace. It will provide diagrams and detailed instructions.
- Filter doesn’t fit: If you’ve purchased the correct size and it still won’t fit, double-check the measurements of the filter slot. The filter packaging may have been mislabeled. If the size is indeed correct, return the filter and confirm that you have the right model for your furnace.
- Unusual noises after filter change: If your furnace is making strange sounds after the filter replacement, start by ensuring the filter is inserted fully, and the airflow arrow is in the correct direction. Also, carefully inspect the filter housing to ensure all panels, doors, or grilles are correctly closed with no loose parts or obstructions. If noises persist despite these checks, it’s advisable to turn off the furnace and contact an HVAC technician for further diagnosis.
If you feel more comfortable with one of our HVAC professionals troubleshooting the issue, give us a call anytime at (314)230-9542.
Additional Tips
Here are a few more tips to streamline your furnace filter maintenance and ensure peak system performance:
- Stock up on filters: Purchasing filters in multi-packs often saves money and ensures you always have a spare on hand. Store extra filters in a clean, dry place.
- Subscribe to filter change reminders: Several filter manufacturers and large retailers offer email or text reminders when it’s time for a filter swap. These free services take the guesswork out of remembering your change intervals.
- Consider professional HVAC maintenance: While changing a filter is a DIY task, investing in annual professional HVAC maintenance is wise. These checkups often include filter changes as well as a comprehensive furnace inspection. This can identify potential problems early, maximizing efficiency and ensuring your system’s longevity. Indoor Comfort Team offers our VIP Club Plan for affordable twice-yearly maintenance. Visit https://www.indoorcomfortteam.com/services/maintenance-agreements/ or give us a call anytime at (314)230-9542 to learn more and sign up.
The Bottom Line
As we conclude this step-by-step guide, we hope you now feel equipped and empowered to tackle the task of changing your furnace filter with confidence. By following these simple instructions, you’re not only improving the air quality in your home but also ensuring the efficiency and longevity of your HVAC system.
At Indoor Comfort Team, we’re committed to providing valuable resources and expert advice to homeowners in the St. Louis area. With over four decades of experience serving both sides of the river, we take pride in being your trusted HVAC professional.
Remember, regular maintenance, including changing your furnace filter, is essential for optimal performance and indoor comfort. If you ever have any questions or need assistance with your HVAC system, don’t hesitate to reach out to the Indoor Comfort Team anytime at (314)230-9542. We’re here to help you breathe easy and stay comfortable year-round.
Thank you for trusting us as your HVAC partner. We look forward to continuing to serve you and ensure your indoor comfort for years to come.